Podcasts are an effective way to share expert insights with your clients, colleagues and prospects in an easily digestible format. Not only that, they provide fresh content for your website and social media channels, demonstrating thought leadership in your subject area, building trust with your audience and helping grow your digital presence.
Studies suggest that since the pandemic, more and more of us are consuming podcast content at home. According to Edison Research and Triton Digital, ‘podcasting continues its significant and steady growth while its overall audience is more diverse than ever…’
So, to help you on your podcast journey, here are seven simple steps you need to follow...
Step 1: Gather your brand assets
When starting to compile the assets you need to build your podcast, it’s important to make sure your brand is represented correctly. Include your logo, brand colours, fonts and imagery in your visuals so they provide a consistent look and feel to your digital marketing efforts. In essence, the podcast should look like a seamless extension of your website and social media channels.
We use Canva to create our podcast artwork, using the Passle logo, colours and fonts to ensure we are always ‘on brand’. Let’s face it, it wouldn’t be Passle without an orange octopus, right?

Step 2: Book a call with your podcast guest
It’s always a good idea to book a short call in with your podcast guest (ahead of the recording) to talk through the topics you’d like to cover and agree on the questions you’ll be asking them. Preparation is key; coming to that call with some ideas and suggestions will help provide structure to the conversation and ensure the end result is insightful and relevant.

Step 3: Record your podcast
Once you’ve agreed on the questions, get a date in the diary with your guest to record your podcast. The audio can simply be recorded using your usual meeting platform, such as Zoom, Microsoft teams or Google Meet.
Top tip: Don’t worry about getting the recording perfect in one go, the audio can be edited later to cut out any sections you or your guest weren’t happy with.

Step 4: The final cut
Here’s the science bit. Once you have your audio recording and the assets you gathered earlier, including music files, your brand assets, (such as intro and outro screens and background visuals) you can begin editing and piecing together your final podcast.
At Passle we use Shotcut, a neat piece of software that allows you to add each of these assets as video track layers. It’s simply a case of layering the files and placing them at the correct points of the recording so you can see the visuals and hear the audio playing throughout.
As well as enabling you to cut the clips as necessary to remove any unwanted sections of the recording, the software also allows you to add some nice touches, like fading audio in and out, adding filters to create visuals and increasing/decreasing the gain (or volume, in layman's terms). All of these tweaks can help you create a polished and professional-looking podcast.

It may feel daunting at first, but spend some time practising and you’ll soon be a pro!
Top tip: You will need to export your podcast as an audio file (MP3) to publish it on your chosen podcast platform and as a video file (MP4) for your website and Passle pages.
Step 5: Get sign off
This is a short but key step. Once you’re happy with your podcast, don’t forget to share it back with the host and episode guest so they can review and approve it.

Step 6: Publication
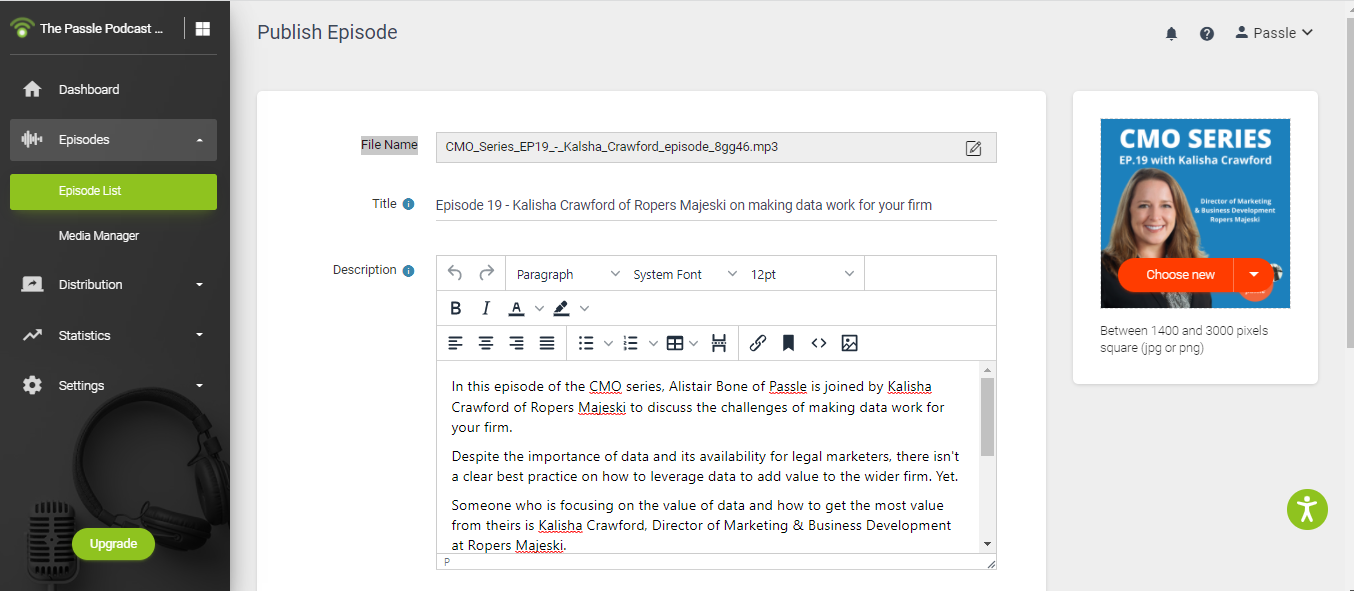
Now you’ve spent time creating a fabulous piece of content, you need to think about where to publish it. We publish our podcasts on a broadcasting platform called Podbean. Once published here, the episode is automatically shared to Google Podcasts, Apple Podcasts and Spotify.
It’s straightforward to use, you simply upload your audio (MP3) file of the podcast and a podcast cover image (created in Canva or your software of choice) and add a title and a description of the episode.

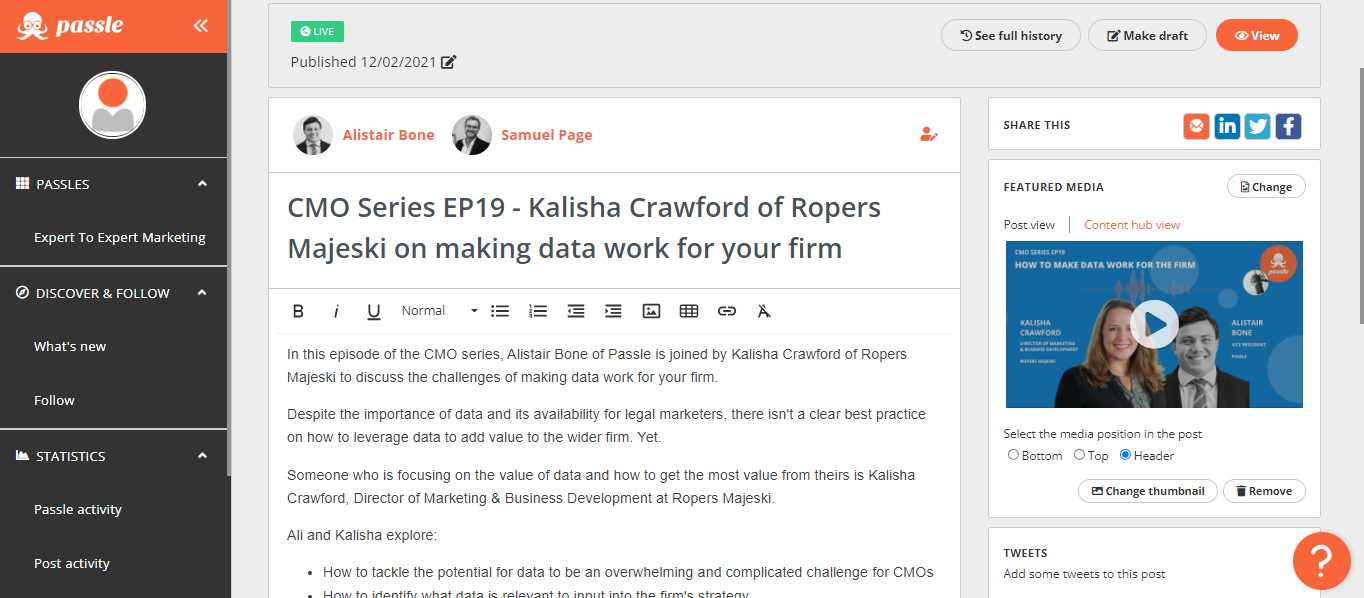
And of course, we also publish our podcast on Passle. You may want to do the same. Here you will upload your video file (MP4) and add a title and a description in the same way as before. Easy.

Step 7: Spread the word!
Now your podcast is live, it’s time to share it far and wide. A good place to start is with your professional networks, you could do this via LinkedIn, Twitter, email or your company e-newsletter. If you’re using LinkedIn, make sure you tag the people and firms who feature in the episode. This is done by typing @ before their name. Once posted, their names will appear as blue links, as shown below, and they will be notified about the mention in your post, they will then share it across their networks allowing more people to see it, like it and share it.
Top tip: Don’t forget to add hashtags to your post, LinkedIn will offer suggestions, but you can do your own research to see which hashtags are most relevant to your audience.

If you’d like more inspiration, take a look at the CMO Series here. Happy Podcasting!


/Passle/53d0c8edb00e7e0540c9b34b/MediaLibrary/Images/2025-06-24-15-50-59-531-685ac963d81bf11b7522dd8e.png)
/Passle/53d0c8edb00e7e0540c9b34b/MediaLibrary/Images/2026-01-26-00-33-49-963-6976b66dc26ba4a239c0742b.jpg)
/Passle/53d0c8edb00e7e0540c9b34b/MediaLibrary/Images/2026-02-05-19-17-38-445-6984ecd2d522dbbaed5fa13c.png)
/Passle/53d0c8edb00e7e0540c9b34b/MediaLibrary/Images/2026-02-04-15-05-10-466-69836026ae0e4cf738ed4f9f.png)
/Passle/53d0c8edb00e7e0540c9b34b/MediaLibrary/Images/2026-02-01-16-17-51-126-697f7cafc6793e6990c55114.JPG)


